Friday, 5 April 2013
Wednesday, 3 April 2013
Pop Candy
I had so much fun doing this! After the Pop Art challenge yesterday i wanted to create my own Pop Art piece.
Here is how i did it:
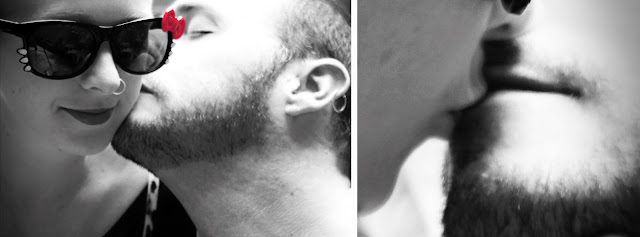
1. I chose 2 photo's that i wanted & merged as one.
2.Followed the steps on this tutorial, there are some minor details that i did change with the Halftone Effect to get the effect that i wanted but everything i followed text book. This tutorial is awesome & so easy to follow. If anyone has a go, i'd love to see them :)
http://10steps.sg/tutorials/photoshop/create-a-retro-pop-art-in-photoshop/
I made the Lollipop by playing around with the Distort Filter --> Twirl & repeated until i had the desired swirl i wanted. I then used the circle marquee & selected an area & then copied & pasted onto a new page & made the lollipop stem. I then transferred to the final image & repeated step 4 on the link to create the Halftone effect.
Here is my final image. The theme today was "Candy" & as i was inspired by Pop Art this is what came about. The words in the speech bubble are from an Iggy Pop song called Candy. If you're a 90's child like me, you would already know that ;)
Tuesday, 2 April 2013
Whaam!
Today's word for the 365 Project April list was "Pop Art". I found this diamond of mural on Alice Street, Newtown. It's my favorite artist of all time Roy Litchenstein's piece "Whaam! circa 1963.
I also did some research on how to create a Pop Art effect using Photoshop.
Here is how i edited these photo's:
I also did some research on how to create a Pop Art effect using Photoshop.
Here is how i edited these photo's:
1. Colour correct
2. Apply Boost Action, flatten image
3. Apply Filter: Smart Sharpen
To apply Pop Art Effect:
4. Go to Filter --> Pixelate --> Colour Halftone
change boxes to the following:
& Voila!
I think i'll be trying this out on a few other things ;)
Monday, 1 April 2013
Subscribe to:
Posts (Atom)


